Setting up your own VPN server based on Outline VPN
How to connect and configure Outline VPN
After you have ordered the VPS service with a pre-installed OS template and Outline VPN server, you will need:
- Access to your VPS server
- Outline Manager
- Outline Client
1. Connecting to the server and obtaining the server control key:
- Connect to the server via SSH:
Windows: use PuTTY
Linux / macOS:ssh root@YOUR_SERVER_IP - To obtain the control key, perform:
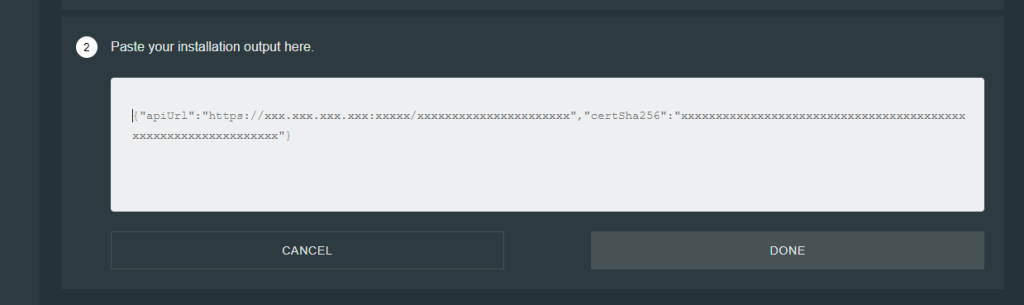
sudo cat /root/outline-access.txt - As a result, you will see a string approximately like this:
{"apiUrl":"https://IP:PORT/KEY","certSha256":"HASH"}
Copy this link – it is needed to connect to the server.
2. Installing Outline Manager
- Download the Outline Manager application:
Windows / macOS / Linux - Install the application and open it.
3. Adding your server to Outline Manager
- In Outline Manager, click “+” and “SET UP” bottom in the “Set up anywhere”.
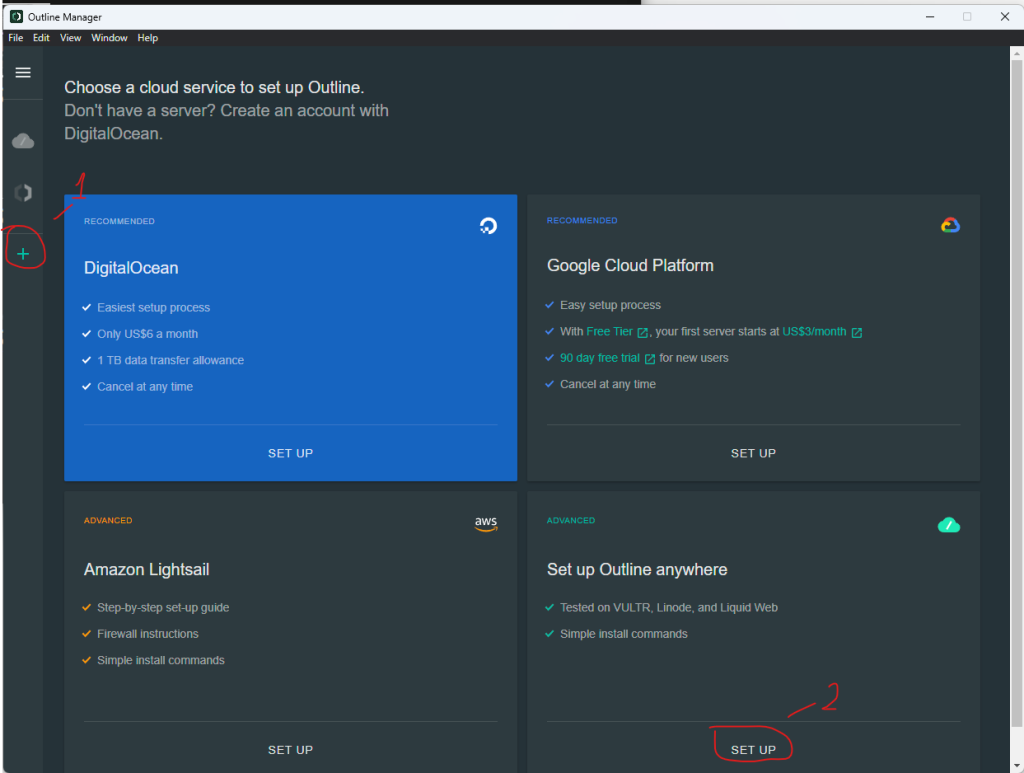
- In the “2” window, insert the copied control key and click “DONE”:
4. Creating a client/user access key:
- In the server management menu, click “Add new key”
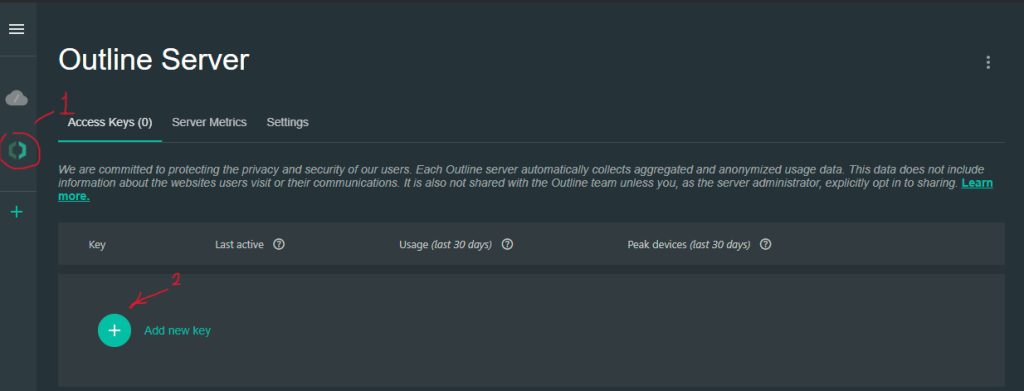
- Next, we can (1) configure the key (Rename/Delete/Limit traffic), or obtain its (2) data.

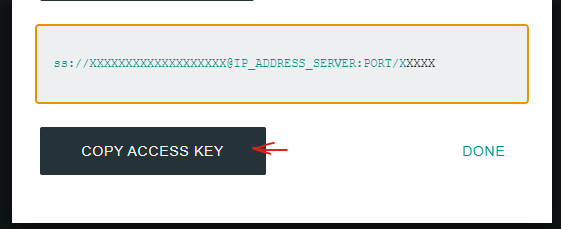
- To obtain the client access key, click “Share” (2) and copy the access key:
5. Installing and configuring a VPN client:
- You need to install the Outline Client, you can download it here:
Windows / Linux / macOS / Android / iOS
- After launching the Outline Client, click “+” and paste the copied client access key, then confirm the connection.
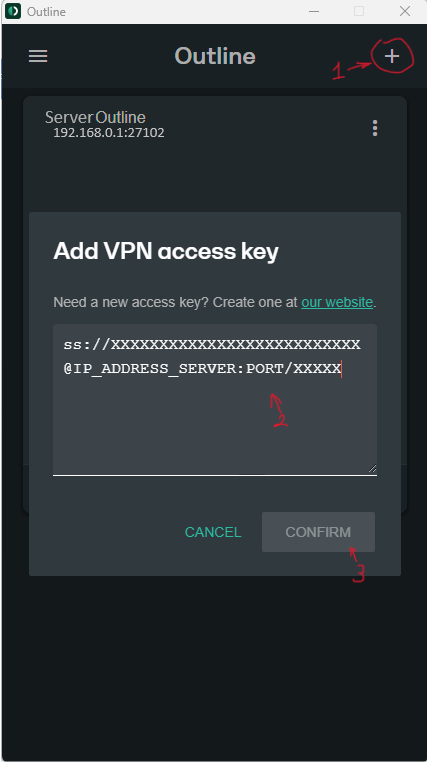
- Next, you will need to simply activate the connection, and you’re done; you have connected to your VPN server.

Important tips:
- Do not pass the server control key to third parties.
- It is better to create a separate key for each user.
- Set up the firewall on the server.