Changing the VPS Plan
How to change your VPS plan through your personal account
🔹 Where to find the “Change Plan” option
You can find this function in your Client Area, in the same section as Backup and OS Template:
1. Log in to your Client Area.
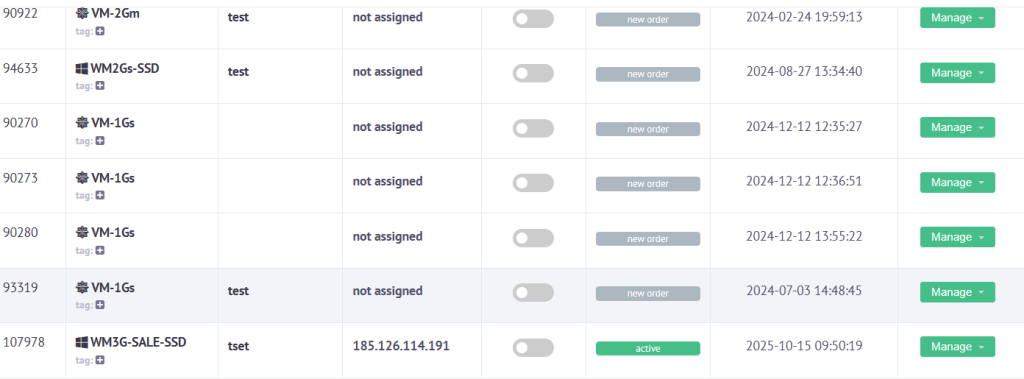
2. Go to Orders → VPS Hosting.
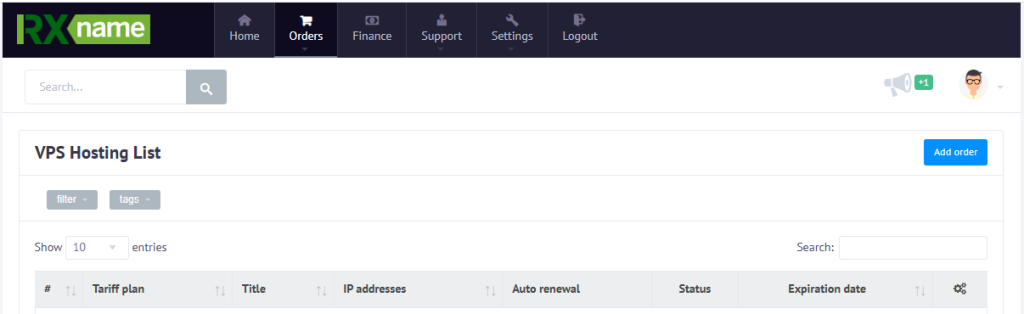
3. Select the desired VPS.
4. In the menu, click Change Plan.
🔹 How to change your VPS plan
1. In the Change Plan tab, you’ll see a list of available plans.
2. Select a new plan (only upgrade is available — you can move to a higher plan with more CPU, RAM, or Disk).
3. Click Upgrade.
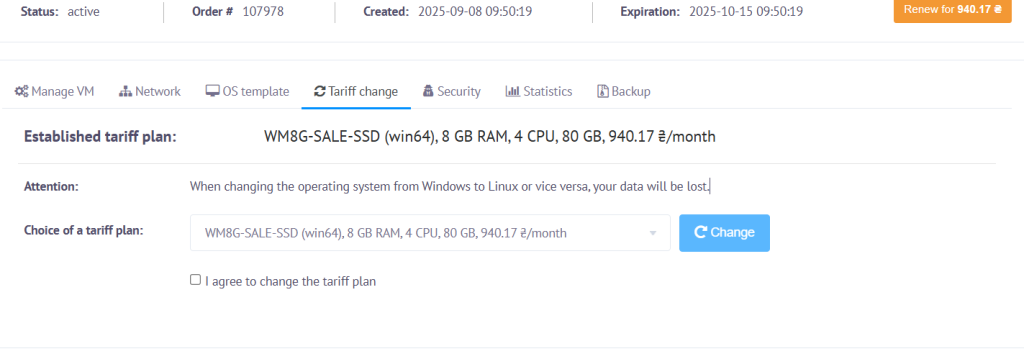
4. Confirm the plan change.
5. The system will automatically recalculate the cost, and your VPS will be upgraded.
🔹 When data may not be preserved
- If you choose a new plan with a different OS, all data will be erased (full reinstall).
- If your VPS is moved to a different server or platform (location/type change).
⚠️ Usually, data remains intact when upgrading the plan, but we recommend creating a manual backup before proceeding.
🔹 After upgrading the plan
After upgrading, the disk size does not increase automatically — you’ll need to extend it manually.
How to extend the disk:
1. Connect to your VPS via SSH.
2. Check the current disk size with:
df -h
3. Follow this guide to extend your disk:
👉 How to extend your VPS disk after plan upgrade
4. Verify with df -h again — the new size should appear.
🔹 Important
- Downgrade to a lower plan is not available.
- Always make a Backup before any changes.