How to Order and Activate a VPS Server
Step-by-step guide for ordering and activating a virtual server
Purchasing a Virtual Private Server (VPS/VDS) is a simple process that usually takes just a few minutes. In this step-by-step guide, we will look at how to register, choose a pricing plan, and fill out the necessary information for successful service activation at RX-NAME.
Step 1. Choosing a Pricing Plan and Ordering a VPS
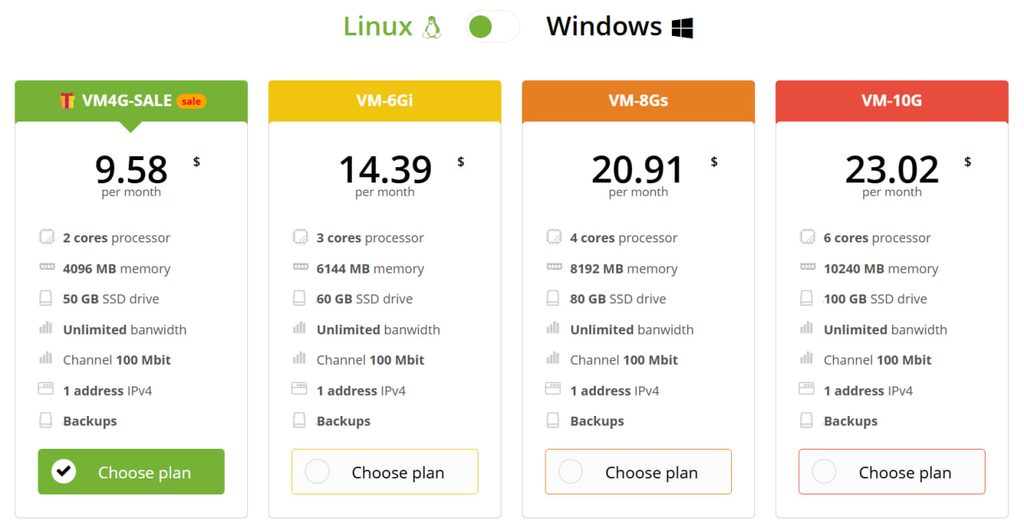
The first step is to go to the official website of the chosen provider and select the appropriate server configuration (RAM capacity, number of CPU cores, and disk space).
- Go to the VPS pricing plans section.
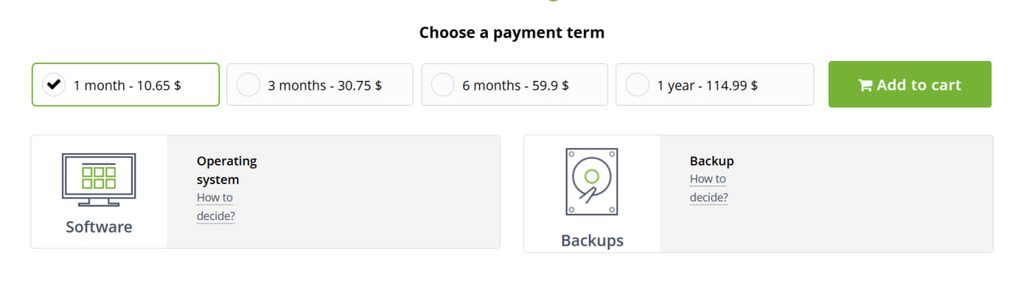
- Select the desired pricing plan and click the “Add to cart” button.
Step 2. New User Registration
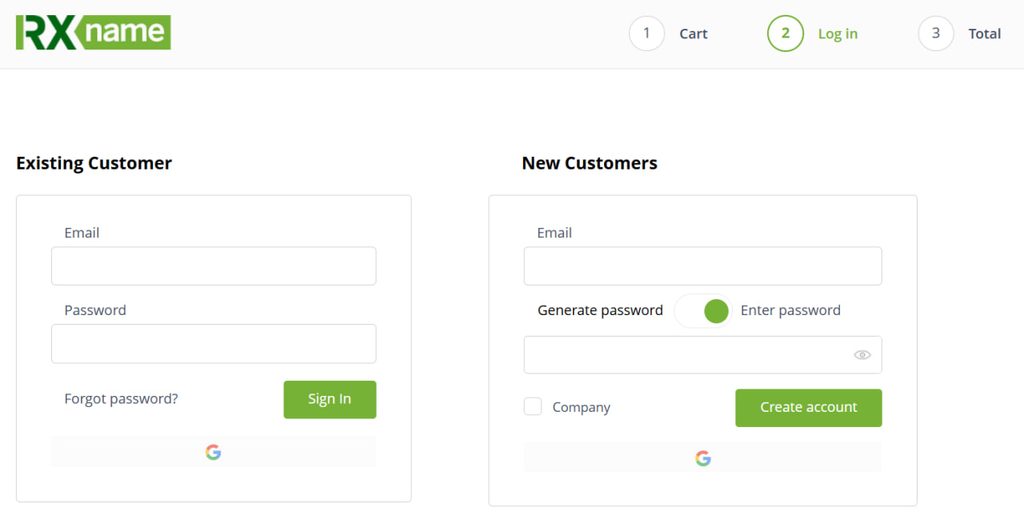
After clicking the order button, the system will ask you to log in or create a new account.
- If you are a new client, fill out the registration form: enter your valid email address and come up with a secure password.
- Choose a convenient interface language if you haven’t done so already.
- Click the registration confirmation button.
Step 3. Filling Out Information in the Client Area
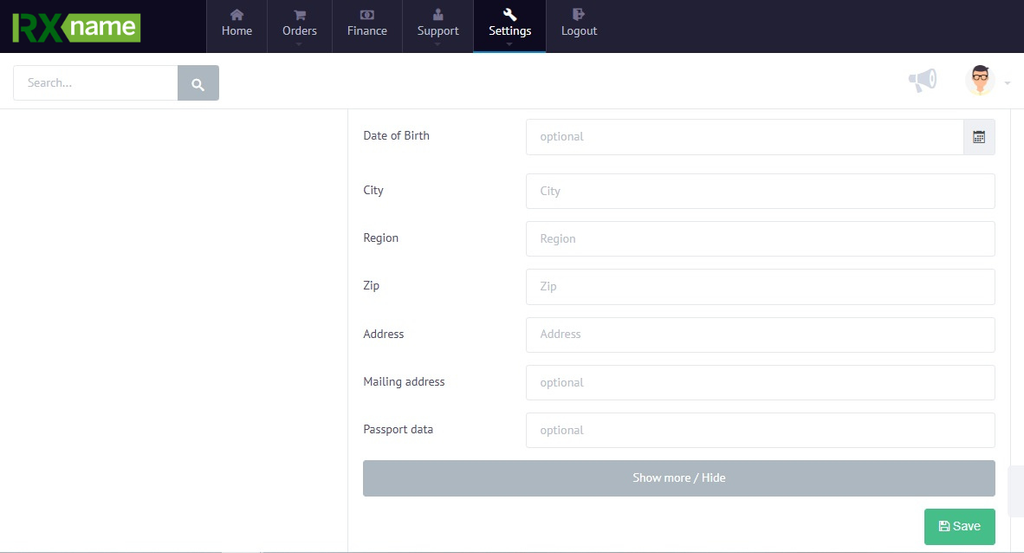
To activate the order and avoid suspicions of spam activity, most hosting providers require you to fill out your profile with real buyer data.
- Log in to your client area and go to the “Settings” section.
- Fill in the correct personal data: Full name, phone number, and address (for individuals) or company details (for legal entities).
- Save the changes made.
Step 4. Payment and Server Activation
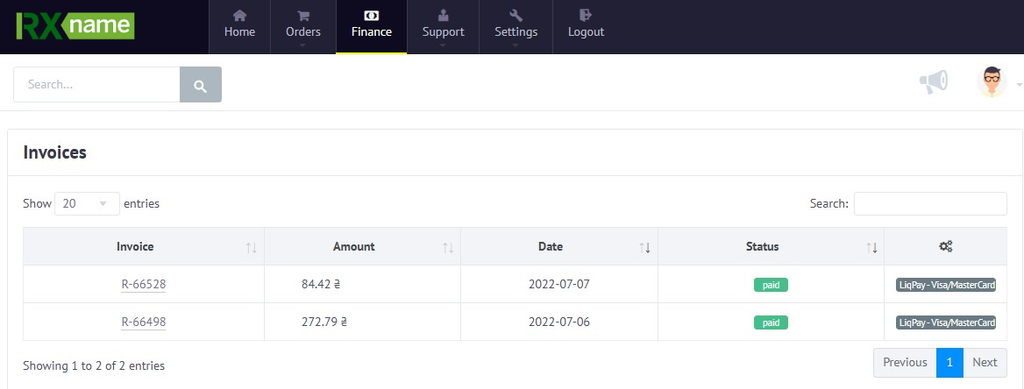
After filling out the profile, the system will generate an invoice for the selected VPS server.
- Choose a convenient payment method.
- Make the payment.
- Once the funds are credited (usually within a few minutes), the server is automatically created. Access details (IP address, login, and root password) will be sent to your email and will appear in your client area.